


Throw in frequent power outages that can make modern life unbearable unless you have a solar panel inverter. Today, uninterrupted power supply is no longer a luxury but a necessity. There is electricity for everything from fans and lights to appliances and computers. Therefore, if you have been planning to buy a solar inverter for some time now and are wondering if the installation is a hassle, then you will be surprised to know that solar panel inverters are very easy to install.
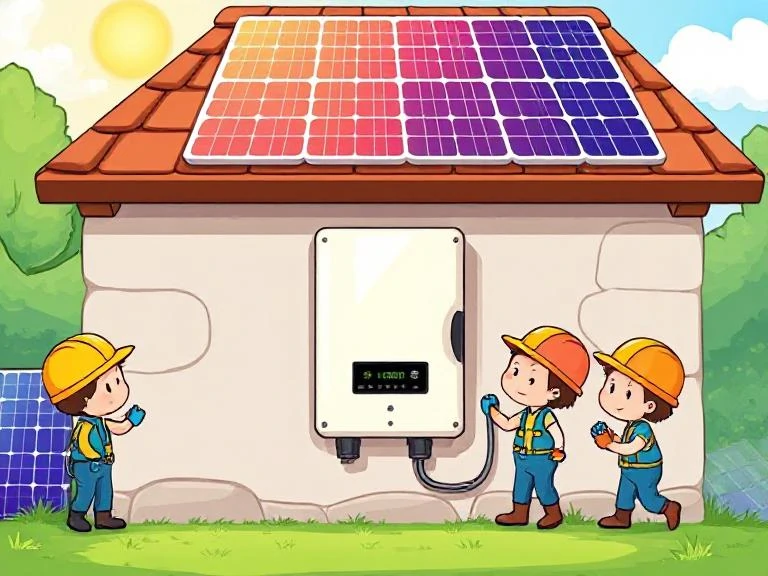
It is well known that a solar panel inverter is a key component of a solar panel system. The solar panels generate direct current (DC) electricity from sunlight, and a solar inverter is needed to convert the DC electricity into AC electricity that can be used in the home. In addition, a solar panel inverter is an essential component for system monitoring. The solar panel inverter also has the ability to interact with the solar system’s battery bank, which includes energy storage.
In short, the solar panel inverter is the control center of the entire solar system. You need to make sure that your solar panel inverter installation goes smoothly if you are going to do a DIY solar installation.

It is essential to any successful solar panel inverter installation project that you have a clear plan in place and take steps to ensure the safety of all involved. With that said, there are actually a few things you can do before you take your system apart to ensure that the solar panel inverter installation process goes smoothly from start to finish. These include:
Most solar inverters can be installed outdoors, but it is recommended that you do your solar panel inverter installation indoors if possible. If they can’t be put inside, they should be outside the element. There are many other things to consider when choosing a location to install a solar panel inverter besides exposure to the weather.
It is not recommended to do your solar panel inverter installation outdoors. As mentioned above, you should ideally have your solar inverter installed somewhere. For homes, this usually means being close to a daughterboard, and in modern homes, the daughterboard is often located in the garage. Daughter boards are boards that have circuit breakers for all the different circuits in the house.
The solar panel inverter can be connected to this board because it is already connected to the main distribution board, which is usually where meter readings are taken. For a business, you may have multiple sub-panels and the CEC designer will need to calculate the cable routes between each sub-panel and the main distribution board to determine the best location for the solar panel inverter. There are other factors to consider in a commercial design, such as network protection and egress control.
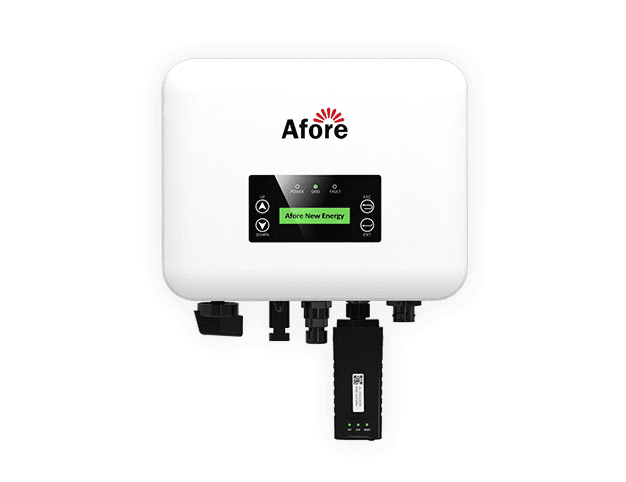
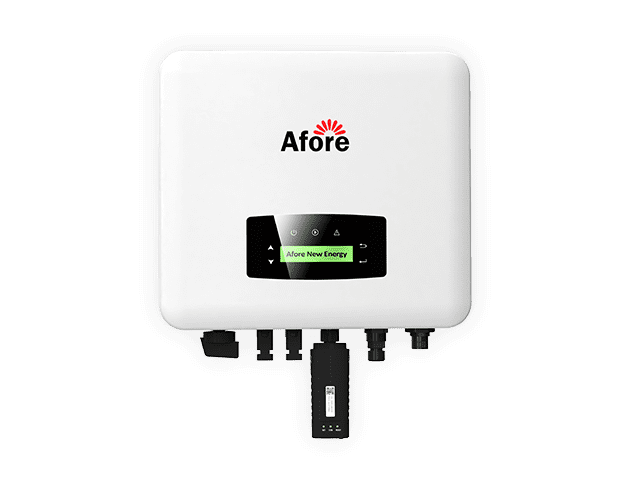
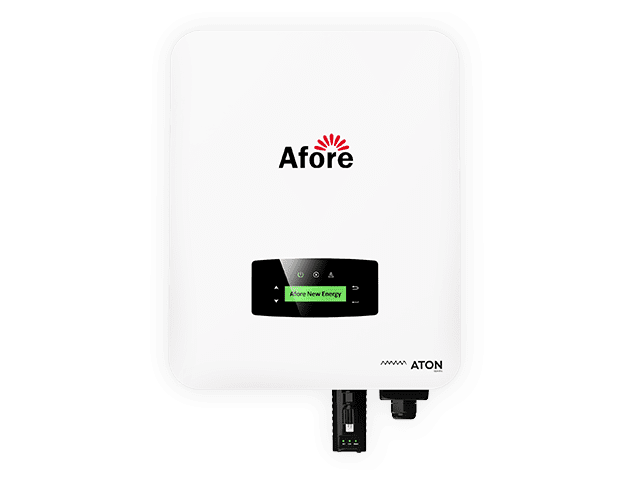
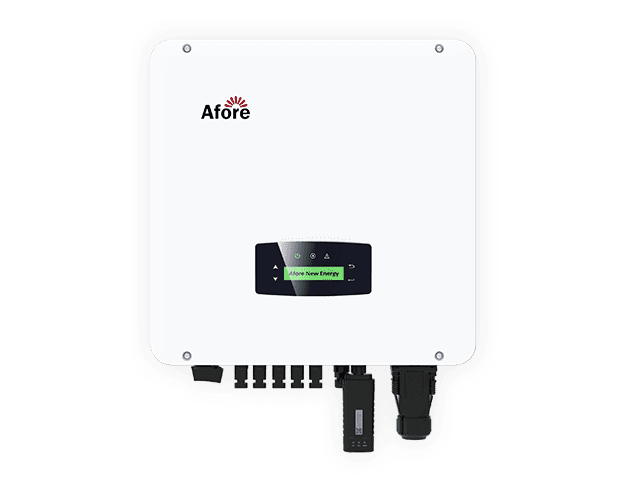
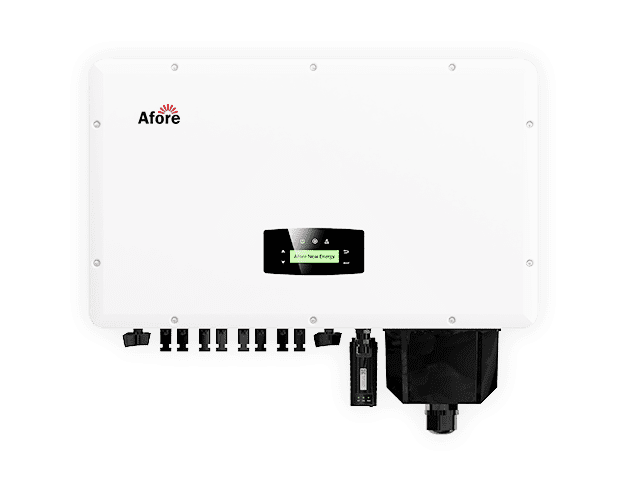
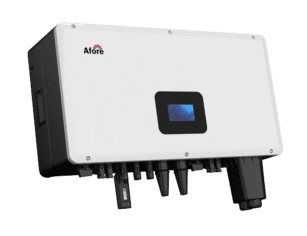
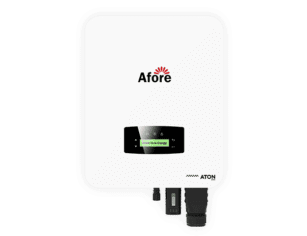
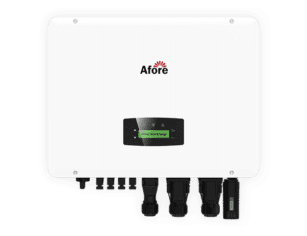
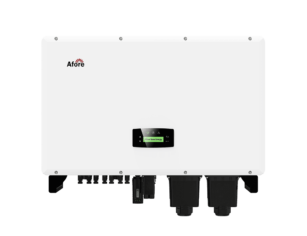
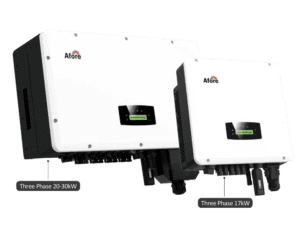
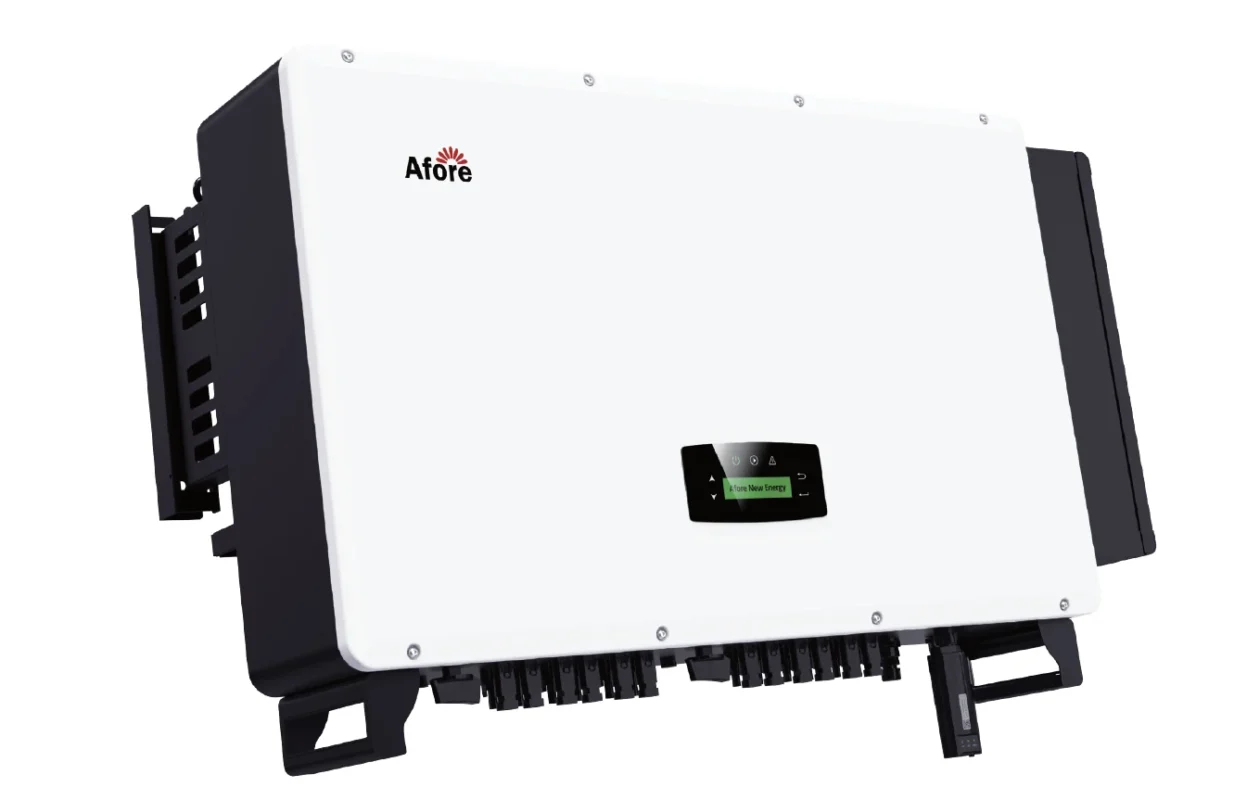
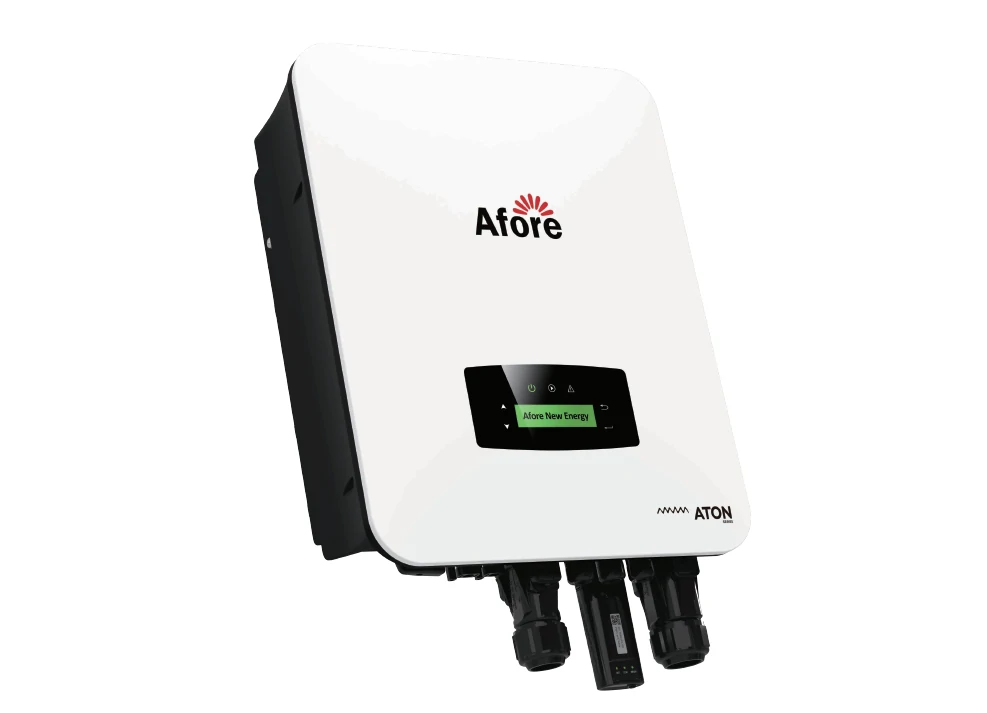
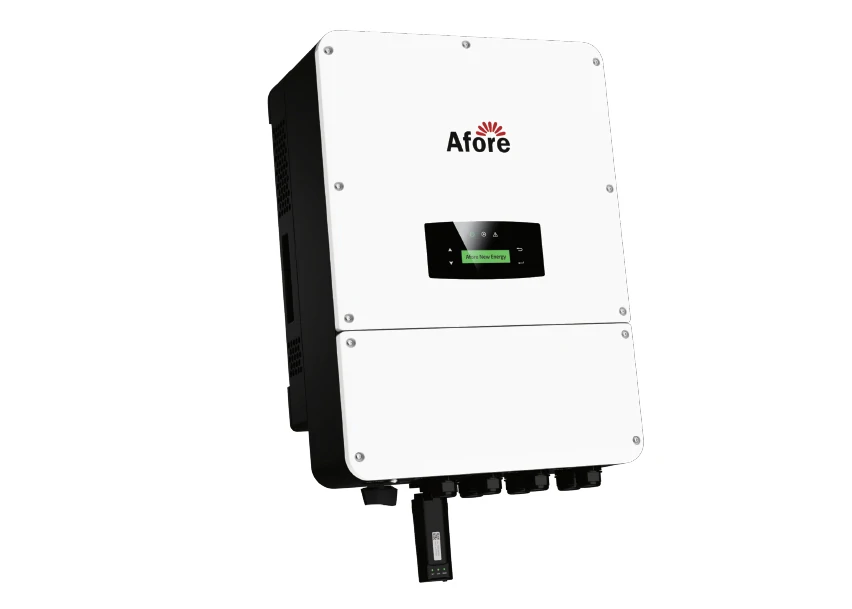
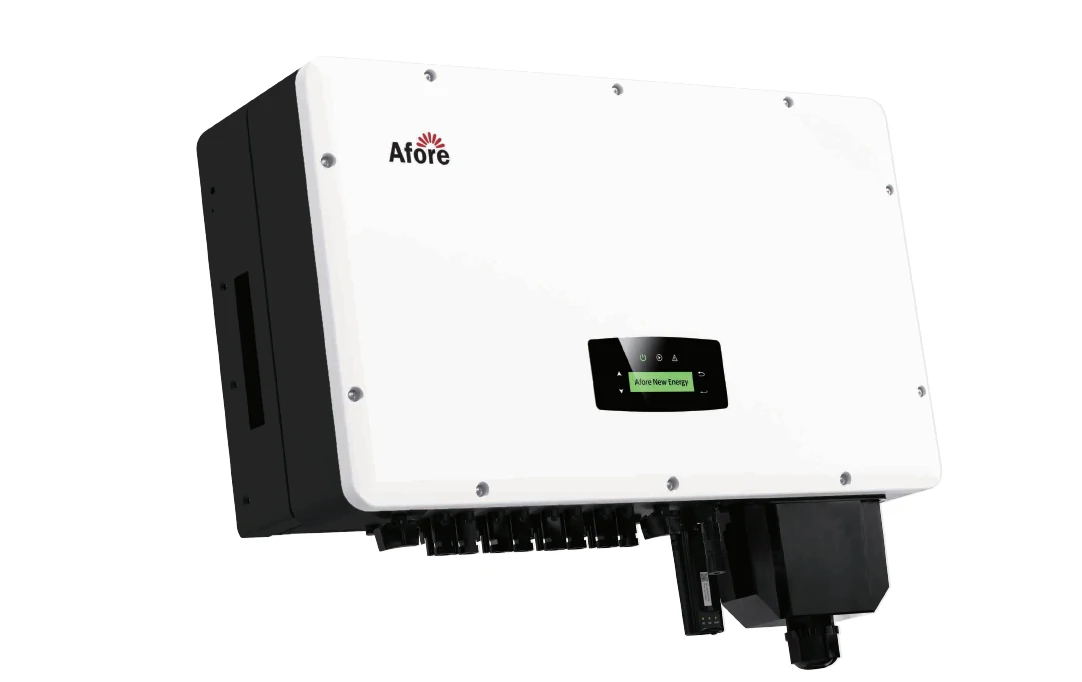
If it is not possible to install a solar panel inverter indoors, we will look for a place close to the main switchboard where it will not be exposed to the elements. Most solar inverters are rated at least IP65. This means that technically the inverter can be mounted anywhere outdoors. However, prolonged exposure to large amounts of sunlight on a solar panel inverter enclosure can wear down the material. It can also be a problem if the solar panel inverter becomes very hot in the sun, it will operate less efficiently than a cooler solar inverter. And it is never a good thing to have constant rain hitting a solar panel inverter when it is raining heavily. It’s worth noting that as a solar inverter manufacturer, some of Afore’s commercial solar inverters have a protection rating of IP66. Moreover, all models of Afore’s solar inverters feature an anodized aluminum casing for added durability and effective protection against corrosion. Equipped with external inductors to ensure efficient heat dissipation, they significantly improve reliability and extend the life of the inverter.
For all these reasons, we would try to find an east wall (away from the hot afternoon west sun) and have an eve or some kind of protection from rain and direct sunlight. The less exposure of the inverter to the weather, the better.
Find out where the solar panel inverter is located and make sure that remote Wi-Fi monitoring is possible.
There is one important consideration in the home is the availability of a Wi-Fi signal. By connecting your solar inverter to your home Wi-Fi means you can remotely monitor the performance of your solar system from your smart device or PC. This is a cool feature and some people enjoy using it! For others, it’s not so appealing. But it is still a very useful feature with many advantages.
With a remotely monitored solar array, you can tell at any time whether the solar energy is operating properly. If there is a problem with poor performance and product failure, it can usually be diagnosed remotely, which saves time and money and lets someone go to the property. An easy way to check the Wi-Fi signal strength is to use a smartphone to stand at a potential inverter location and connect to a Wi-Fi network. You can then use your phone to check the signal strength. Your inverter needs a fairly strong signal to ensure consistent data flow.
For larger commercial solar systems, we typically use a 4G sim to monitor solar performance, so the Wi-Fi signal is less important. This is not always the case, but in commercial buildings, the location of solar panel inverter installation is often not near offices or other areas that typically require a Wi-Fi signal. Using a 4G sim card is more expensive because of the ongoing payment for data, but sometimes it is preferred, so there is no problem with existing firewalls or other internal internet security.
The farther away the inverter on board or the main switchboard, the lower the efficiency. There are a lot of variables here, and often you can easily increase the cable size to solve the efficiency problem. However, longer cable routes and larger cables mean higher costs, so it’s best to keep the inverter close to the board if possible.
As solar designers, our primary job is to design solar systems that are as efficient as possible. With that in mind, the aesthetics of the location of the solar inverter and solar panels are always secondary. However, we also understand that your home is where you live and you want to make sure that the system you install is not an eyesore.
As mentioned above, the inverter is usually installed near the daughterboard or main switchboard. When inverters are installed outdoors, they are often not visible from roadside properties. For homes, the inverter will most likely be in a garage, or along the side of the house near the meter box. For enterprises, the inverter will also be close to the daughter board or main switching board. They are rarely located in areas where employees or customers are frequented. If aesthetics is very important to you and the inverter must be located in an area where it is often seen, you can build a small enclosure to surround the inverter, as long as it is well-ventilated and not completely enclosed. If you are considering doing so, you should always check the manufacturer’s requirements and local installation standards for licensing, as installing a non-compliant enclosure may void the warranty or violate safety standards.
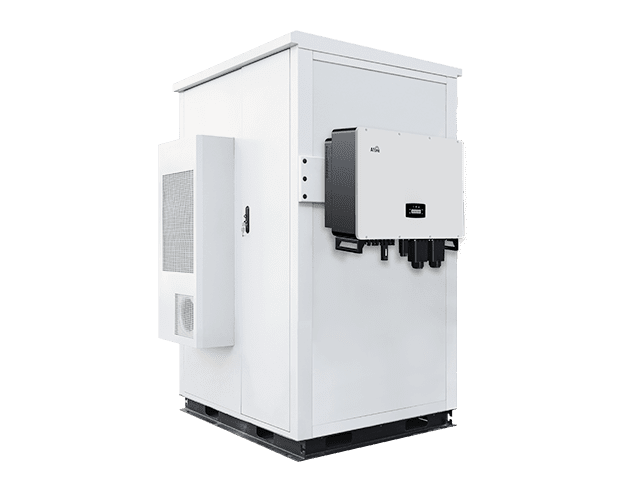
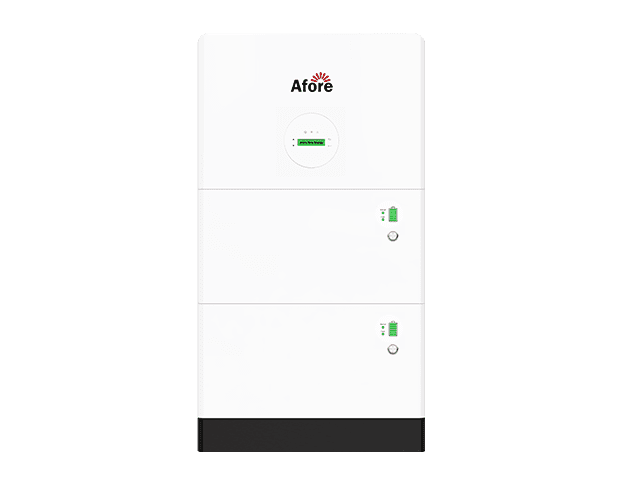
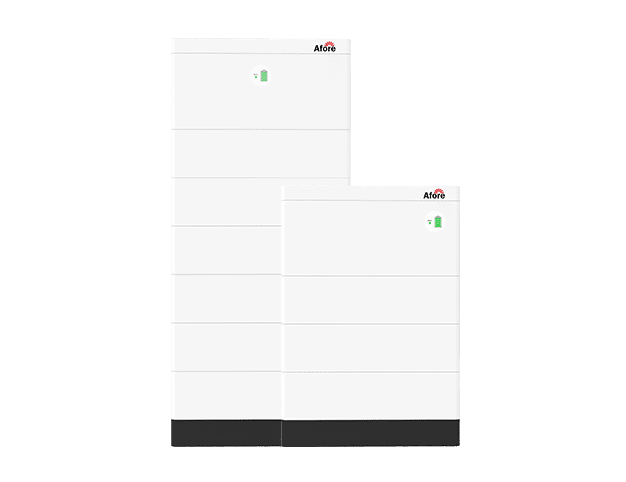
A stand-alone inverter system will allow you to use backup power in the event of a failure in the main grid. It consists of a large box that can be installed somewhere in your home – like a garage or utility closet. The system uses a mechanical rotor to switch direct current to alternating current. Most commonly, they are connected to the battery itself. When choosing this type of solar inverter, make sure to use a high-quality Afore solar inverter to ensure that everything works properly for a long time.
Alternatively, you can choose a grid-tied system. The system allows you to connect the panel directly to the grid. This will enable you to sell all the excess power you manage to accumulate to your utility provider. However, the disadvantage of such a system is that it does not contain a battery. This means that in the event of a power outage, you will also be kept in the dark.
Hybrid systems are the most expensive because they offer the benefits of the two systems mentioned earlier. Despite these features and efficiency, they are often most commonly used in large business environments due to their price.
Solar panels can be used for commercial and domestic electricity. In both cases, photovoltaic panels are installed on the roof to get as much sunlight as possible and generate maximum electricity from the system.
The steps involved in the solar panel inverter installation process are as follows:
The first step is to fix the bracket, which will support the solar panels. It can be roof floor mounted or flushed mounted depending on requirements. This basic structure provides support and robustness. Pay attention to the installation orientation of the PV board (monocrystalline or polycrystalline). For countries in the northern hemisphere, the best direction to face solar panels is the south, where the sun gets the most. The east-west direction is also possible. For countries in the southern hemisphere, the best direction is the north.
Again, the installation structure must be slightly inclined. The angle of inclination can be between 18 and 36 degrees. Many companies use solar trackers to improve conversion efficiency.
The next step is to fix the solar panels with the mounting structure. This is done by tightening nuts and bolts. Care should be taken to ensure the safety of the entire structure to make it strong and durable.
The next step is to make wires. Universal connectors like the MC4 are used during cabling because these connectors can be connected to all types of solar panels. These panels can be electrically connected to each other via the following series:
Series: In this case, the positive (+) line of one PV module is connected to the negative (-) line of another module. This type of wiring increases the voltage that matches the battery pack.
Parallel join: In this case, positive (+) to positive (+) and negative (-) to negative (-) connections are completed. This wiring voltage for each panel remains constant.
The next step is to connect the system to the solar inverter. The positive wire of the solar panel is connected to the positive terminal of the inverter and the negative wire is connected to the negative terminal of the inverter.
The solar inverter is connected to the solar cells and the grid input to generate electricity.
The next step is to connect the solar inverter and the solar cell. The positive terminal of the battery is connected to the positive terminal of the inverter, from negative to negative. Off-grid solar systems require batteries to store power backups.
The next step is to connect the inverter to the grid. To achieve this connection, a plain plug is used to connect to the main power switchboard. An output line is connected to the electric board to supply power to the home.
Now when all the electrical wiring and connections are done, it is time to start the inverter switch ON the Main Switch of the Home. Most solar inverters will have a digital display to show you stats regarding the generation and usage of the solar unit.
Once your solar inverter is installed, your work is not over. To make sure it lasts for a few years, you need to maintain it. Here are simple and effective ways to maintain your inverter, regardless of its type.
According to the national electrical code, the wiring of the inverter must be correct. NEC outlines guidelines on how to connect power tools. Therefore, it is wise to ensure that the wiring of the inverter follows the NEC guidelines.
If you do not choose a good installation environment, it will definitely shorten the service life of the solar inverter.
However, which environment is best suited for solar panel inverter installation?
It is best done indoors, in a cool and ventilated room. Secondly, the inverter should not interfere with the cooling fan to prevent it from overheating and causing a fire. In addition, the room should be continuously ventilated, keeping enough moisture and away from liquids.
The solar panel inverter is a device that generates sparks. This is why it is important to stay away from anything that could lead to a fire accident. For example, staying away from flammable substances and gases can prevent sparks from escalating into fires.
As some of the solar panel inverters require regular maintenance as they have batteries. There are many risks associated with batteries, such as electric shock, fire accidents and overheating.
A well-ventilated battery room is essential for the long-term maintenance of the battery. This is because it produces hydrogen and oxygen when the battery is charged. These gases need to circulate properly to avoid them accumulating and damaging the battery.
In addition, great care must be taken when handling the battery. For that you need to remove any metal jewelry, including bracelets, rings, watches, etc. Why? With these power sources a short circuit is created which can weld light metals which can cause a fire.
Each inverter has the maximum voltage it can handle. This explains why some solar inverters are best suited for residential use, while others are best suited for commercial applications. You can see that a single unit of solar inverter design used in residential buildings cannot be used to convert large currents in commercial buildings.
Therefore, replacement of the solar panel inverter should not be considered. When replacing the solar panel inverter, you should also ensure that the correct solar panel inverter is used. In summary, the input voltage to the solar panel should not exceed the recommended DC input voltage.
The AC output of the solar inverter can be connected directly to the distribution panel for parallel operation. Running on a different power source may cause AC power to feed back into the unit, which could damage the output section. The AC output of the solar inverter should not be connected directly to a circuit breaker to prevent electrical problems.
All electronic components have a useful life, including solar inverter components. Therefore, they need to be replaced when they reach the end of their service life or are damaged.
What is important is that you order the correct replacement parts, preferably from the manufacturer. Furthermore, be sure to disassemble the parts in question correctly to protect them from further damage.
Doing solar panel inverter installation by yourself can be a cost-effective and rewarding experience; You can save a lot of money by excluding contractors and taking pride in your crafts.
However, you need to make sure your system is installed correctly. If it is not done in the right manner, it may cause various issues and also safety hazards.