


A falownik solarny jest kluczowym elementem systemu paneli słonecznych. W panelu słonecznym prąd stały jest generowany ze światła słonecznego, a falownik jest potrzebny do przekształcenia prądu stałego w prąd przemienny, który można wykorzystać w domu.
Inwerter solarny jest również integralnym elementem monitorowania systemu. Inwerter solarny współdziała również z baterią akumulatorów systemu solarnego (w tym z magazynem energii).
Podsumowując, falownik jest centrum sterowania całego systemu solarnego. Dlatego też sposób instalacji falowników solarnych jest ważną rzeczą, na której należy się skupić.
Jeśli zamierzasz samodzielnie wykonać instalację solarną, musisz upewnić się, że instalacja falownika przebiega sprawnie.
Pierwszym krokiem jest wybór odpowiedniego falownika solarnego.
Uwaga: Poniżej skupimy się wyłącznie na mieszkalnych i małych komercyjnych systemach podłączenia do sieci. Jeśli pracujesz nad systemem off-grid DIY, musisz użyć innego falownika, aby zbudować go do celów off-grid.
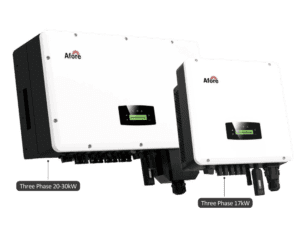
Istnieją dwa podstawowe falowniki dla systemów solarnych: falowniki stringowe i mikroinwertery.
Inwerter stringowy składa się z centralnej jednostki inwertera, która jest „połączona” z panelami słonecznymi, wszystkie podłączone z powrotem do inwertera.
Typowy falownik łańcuchowy może obsługiwać do 30 paneli fotowoltaicznych, więc większość systemów paneli słonecznych będzie miała tylko jeden lub dwa falowniki. Ciąg falowników jest montowany na ścianie w pobliżu głównego panelu serwisowego lub na naziemnym systemie solarnym.

Jak sama nazwa wskazuje, mikroinwerter to małe urządzenie inwerterowe zainstalowane za pojedynczym panelem słonecznym. Zasadniczo jest to niezależna jednostka wytwarzania energii. Przyszła rozbudowa i ciągłe zasilanie mogą być realizowane nawet w przypadku uszkodzenia jednej z jednostek.
Mikroinwertery są bardzo wydajne, a ich technologia stale się rozwija. Niektóre mikroinwertery są łatwe w instalacji, zwłaszcza dla majsterkowiczów. Instalacja jest jeszcze prostsza, ponieważ można użyć standardowego okablowania AC prawie w każdym miejscu systemu.
Istnieje wiele opcji podtrzymania bateryjnego dostępnych dla systemów podłączonych do sieci. Jeśli chcesz zainstalować magazynowanie energii w systemie paneli słonecznych, należy upewnić się, że wybrany falownik jest kompatybilny z wybranym systemem akumulatorów.

Wraz z przyjęciem NEC 2014 wszystkie systemy fotowoltaiczne musiały być wyposażone w funkcję szybkiego wyłączania. W NEC 2017 zasady są bardziej szczegółowe; każdy panel słoneczny musi się wyłączyć.
Mikroinwertery są świetną opcją, ponieważ każdy mikroinwerter ma wbudowany wymóg szybkiego wyłączania. Konieczne będzie zakupienie urządzenia do szybkiego wyłączania dla każdego panelu fotowoltaicznego, które musi być kompatybilne z falownikiem solarnym.
Najlepszym sposobem na zaspokojenie podstawowych potrzeb jest zakup zestawu paneli słonecznych. Wybierz zespół ekspertów DIY, którzy upewnią się, że masz wszystko, czego potrzebujesz, aby spełnić specyfikacje szybkiego wyłączania.
Wiemy, że przewracasz oczami, ale mówimy poważnie! Instalacja falownika solarnego różni się od instalacji standardowej wiertarki elektrycznej. Inwerter solarny jest znacznie bardziej złożonym urządzeniem, a instrukcje instalacji mogą się znacznie różnić w zależności od marki lub modelu.
Jednym z najważniejszych czynników podczas instalacji dysku łańcuchowego jest wybrana lokalizacja. Określenie właściwej lokalizacji wymaga pewnego planowania, ale dzięki temu cały proces instalacji będzie łatwiejszy do przeprowadzenia.
Najpierw należy sprawdzić, po której stronie falownika znajduje się złącze zasilania prądem stałym, a po której złącze zasilania prądem przemiennym. Następnie należy zaplanować odpowiednie lokalizacje falownika. Bez dokładnego rozważenia tej kwestii może to prowadzić do wielu trudnych prac hydraulicznych.
Należy również pamiętać, aby nie instalować falownika solarnego w bezpośrednim świetle słonecznym. Może to skrócić jego żywotność i spowodować wyłączenie systemu, jeśli falownik się przegrzeje.
Na koniec upewnij się, że sprawdziłeś odstępy w instrukcji instalacji, aby falownik uzyskał przepływ powietrza, którego potrzebuje do jak najlepszego działania.
Mikroinwertery ważą zaledwie kilka kilogramów każdy. Jeśli jednak instalujesz system z falownikiem stringowym, przygotuj się na to, że będziesz musiał podnieść trochę ciężaru. Falowniki te nie wyglądają na ciężkie, ale mogą ważyć od 25 do 65 funtów (lub nawet więcej). W razie potrzeby poproś znajomego o pomoc i nie próbuj wieszać ich zbyt wysoko.
Podczas montażu wieszaka należy pamiętać o jego wadze. Pamiętaj, aby przymocować wsporniki do kołków na ścianie, a nie tylko do tynku lub sidingu.

Podczas instalacji falownika ważne jest, aby znać podstawy bezpiecznego okablowania elektrycznego dla systemu solarnego. Przed wykonaniem jakichkolwiek połączeń wewnątrz falownika należy zawsze upewnić się, że obwody są wyłączone.
Panele fotowoltaiczne mogą generować prąd stały nawet przy bardzo słabym oświetleniu, dlatego najlepiej jest użyć martwych przewodów do wykonania połączeń DC w falowniku przed podłączeniem tych przewodów do paneli słonecznych. Upewnij się również, że wyłącznik obwodu AC lub AC jest odłączony, aby podczas pracy nie otrzymywać zasilania AC z głównego panelu dystrybucyjnego.
Możliwe jest skorzystanie z profesjonalnej pomocy w procesie instalacji DIY. Jeśli nie masz doświadczenia z okablowaniem elektrycznym, powinieneś skorzystać z pomocy elektryka. Najbezpieczniejszą opcją jest zlecenie elektrykowi okablowania lub wykonania końcowych połączeń.
Kupując zestawy paneli słonecznych do samodzielnego montażu i materiały, które chcesz, zawsze powinieneś kupować od renomowanej firmy, która oferuje wsparcie techniczne. Taka firma najlepiej jest w stanie zapewnić bezpłatne wsparcie certyfikacyjne nabcep klientom kupującym systemy solarne przez telefon lub e-mail. Twój problem jest prawdopodobnie unikalny dla twojej instalacji solarnej, więc wsparcie online jest cenne.

Podstawa to podstawowa infrastruktura niezbędna do zainstalowania paneli słonecznych, która zapewnia solidne i mocne wsparcie.
Istnieją trzy główne typy wsporników solarnych, a mianowicie wsporniki kolumnowe, płaskie i naziemne. Konieczne jest zainstalowanie go lekko nachylonego, aby panel mógł być skierowany w kierunku maksymalnego natężenia słońca. Zazwyczaj nachylenie to wynosi od 18 do 36 stopni.
Niektóre z czynników, które należy wziąć pod uwagę podczas instalacji paneli słonecznych, obejmują: rozmiar, przydatność i nachylenie dachu; lokalizację budynku lub obiektu; oraz kąt padania promieni słonecznych. Inne czynniki obejmują obecność lub brak przeszkód itp.
W przypadku podpór naziemnych proces instalacji rozpoczyna się od wykopania ziemi, wylania betonu i ustawienia filarów. Głębokość i szerokość wykopanego otworu pod kotwę zależy od rozmiaru całej konstrukcji. Należy również zdecydować o ilości betonu i rur, których należy użyć, aby uzyskać dobrą integralność strukturalną mocowań paneli słonecznych.
Oto kilka wskazówek, których należy przestrzegać podczas konfigurowania uchwytu naziemnego, aby uzyskać najlepsze wyniki:
1. Podczas pracy z betonem należy używać niezbędnego sprzętu ochronnego, takiego jak rękawice. Pozwoli to chronić skórę przed ewentualnymi oparzeniami spowodowanymi kontaktem z mokrym betonem.
Respirator pomoże również chronić płuca przed szkodliwymi gazami i cząstkami stałymi, które mogą być wytwarzane przez cement.
2. Upewnij się, że podłoże jest wypoziomowane. Nierówne podłoże może ostatecznie wpłynąć na stabilność i efektywność systemu solarnego.
3. Wyraźnie określ punkty wykopu. Będzie to zależeć od rozmiaru konstrukcji panelu słonecznego i rozstawu doków.
4. Przed przystąpieniem do budowy instalacji należy przeprowadzić badania inżynieryjne w celu określenia rodzaju gleby podpowierzchniowej.
Badanie inżynieryjne oceni również nośność podpowierzchniowych warstw gleby i pomoże określić, czy istnieją jakieś podpowierzchniowe artefakty, takie jak rury lub systemy septyczne, których należy unikać.
Jak wspomniano wcześniej, ważne jest również, aby przed rozpoczęciem instalacji paneli słonecznych powiadomić lokalne władze. Pomoże to uzyskać wymagane pozwolenia na realizację projektu.
5. Przed zmieszaniem betonu należy upewnić się, że dostępne są wszystkie elementy potrzebne do wykonania instalacji (rury, pomosty).
6. Po wylaniu betonu i ustawieniu filarów (które będą zawieszone w betonie), upewnij się, że masz wystarczająco dużo czasu na pełne utwardzenie betonu przed wykonaniem pozostałych czynności.
Często ważne jest użycie tymczasowych konstrukcji wsporczych, takich jak drewno, aby utrzymać filary na miejscu podczas utwardzania betonu.
7. Po ustawieniu wsporników dla podstawowego fundamentu panelu słonecznego, szyny półki muszą zostać włączone do ramy wspornika. Szyny regałowe są używane jako dolne podparcie, na którym zostaną bezpośrednio umieszczone panele słoneczne.
Szyny półek muszą być rozmieszczone zgodnie z projektem panelu słonecznego (wymiary, otwory montażowe). Pozwoli to na ich idealne dopasowanie i zapewni niezachwiane wsparcie.
Po skonfigurowaniu struktury instalacyjnej, następnym krokiem jest instalacja paneli słonecznych. Aby to zrobić, wystarczy umieścić moduł solarny na ramie montażowej i dokręcić śruby i nakrętki, aby bezpiecznie zamocować oba elementy.
Należy dokładnie rozważyć orientację panelu słonecznego (orientację nachylenia). Orientacja ta często zależy od położenia geograficznego. Na półkuli północnej panele słoneczne powinny być skierowane na południe. Na półkuli południowej panele słoneczne powinny być skierowane na północ. W regionie równikowym panel słoneczny powinien być ustawiony poziomo. Kierunki te reprezentują kierunki o największej intensywności promieniowania słonecznego (światła słonecznego).
Jednym ze sposobów osiągnięcia wysokiej wydajności jest zastosowanie zdejmowanej ramy montażowej. Uchwyt ten został zaprojektowany w taki sposób, aby nachylenie paneli słonecznych można było precyzyjnie dostosować w różnych porach roku (tj. latem, zimą) w celu zebrania maksymalnej ilości światła słonecznego.
Połączenia elektryczne lub okablowanie systemów solarnych muszą być wykonane w sposób zapobiegający rdzewieniu lub iskrzeniu. Można to osiągnąć poprzez staranny dobór przewodów i określenie typu połączenia, który jest najlepszy dla danego systemu.
Dwa możliwe połączenia to szeregowe i równoległe.
Połączenie szeregowe jest zwykle używane, gdy wymagane jest wysokie napięcie wyjściowe. Zazwyczaj połączenie szeregowe nie ma wpływu na prąd wyjściowy, a napięcie wyjściowe jest zwiększone.
W połączeniu szeregowym zacisk dodatni panelu słonecznego jest podłączony do zacisku ujemnego.
Połączenie równoległe jest stosowane, gdy wymagany jest wysoki prąd wyjściowy. Zazwyczaj równoległe połączenie paneli słonecznych wytwarza wysoki prąd, podczas gdy napięcie pozostaje bez zmian.
W połączeniu równoległym biegun dodatni jednego panelu słonecznego jest podłączony do bieguna dodatniego innego panelu słonecznego. To samo dotyczy bieguna ujemnego.
Istnieje wiele czynników, które należy wziąć pod uwagę podczas planowania i realizacji fazy okablowania projektu instalacji systemu solarnego. Obejmują one;
1. Główne czynności związane z okablowaniem elektrycznym to planowanie operacji okablowania, uziemienie systemu i instalacja wyłączników sprzężenia zwrotnego w przypadku konieczności podłączenia do sieci energetycznej.
2. Przed przystąpieniem do okablowania ważne jest, aby zaplanować operację okablowania w efektywny sposób. Pomoże to zminimalizować liczbę błędów.
3. Przewód można przymocować za pomocą zacisku. Ograniczy to ich ruch i zapewni bezpieczne połączenie.

Oczywiście przed podłączeniem paneli słonecznych do falownika należy rozpocząć od zainstalowania falownika.
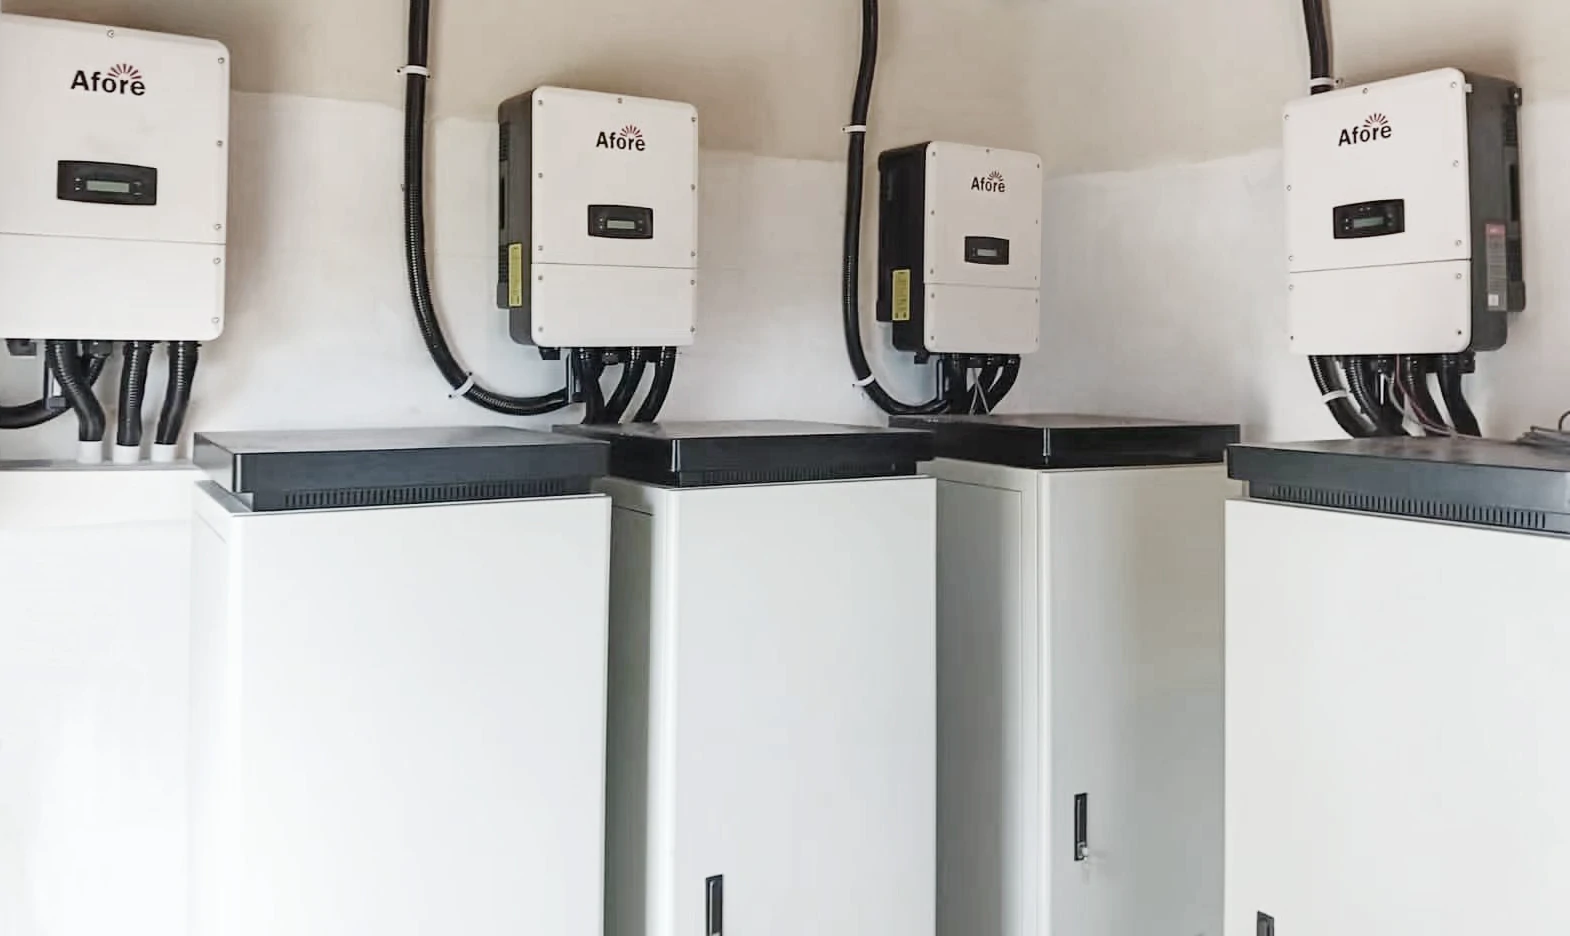
Instalacja falowników solarnych zależy od typu i konfiguracji całego systemu solarnego. Falownik może być zainstalowany na zewnątrz, wewnątrz, na ścianie lub jako część podkonstrukcji do instalacji podłogowej.
Ta sama metoda jest używana do podłączenia paneli słonecznych do falownika, niezależnie od połączenia paneli słonecznych (szeregowo lub równolegle). Ogólnie rzecz biorąc, metoda ta polega na użyciu „łańcuchów”, które składają się z ujemnego i dodatniego (w przewodach łańcuch odnosi się do delikatnego połączenia zacisków elektrycznych).
Ujemny zacisk łańcucha (reprezentujący panel słoneczny) jest podłączony do ujemnego zacisku falownika, a dodatni zacisk łańcucha jest podłączony do dodatniego zacisku falownika słonecznego.
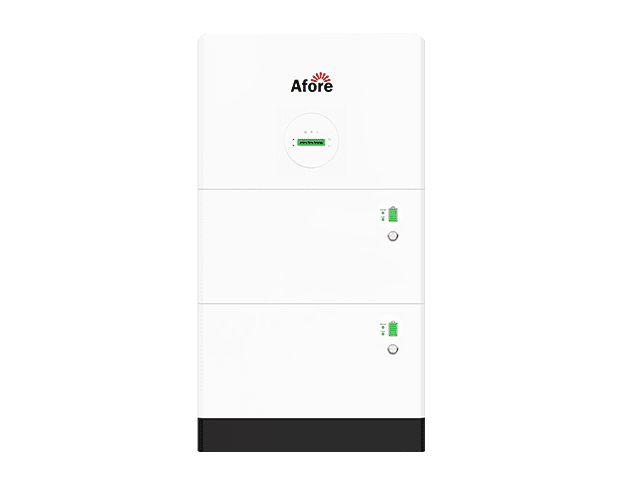
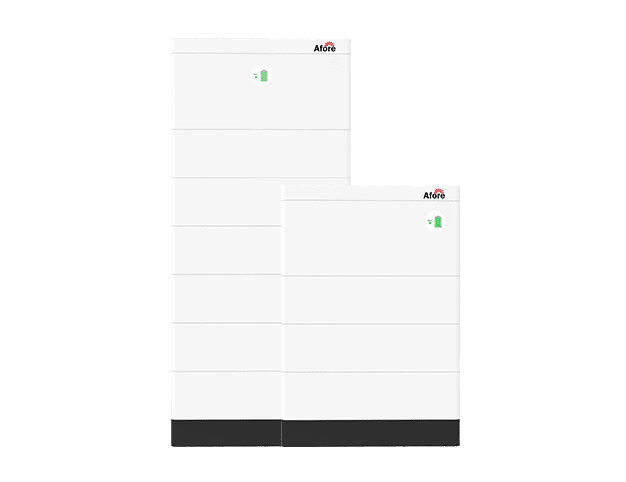
Musimy zacząć od wskazania, że baterie nie są jednym z podstawowych elementów systemu solarnego. Zamiast tego działają one jako element pomocniczy, zapewniając kopię zapasową, aby zapewnić dostępność energii słonecznej nawet wtedy, gdy nie ma światła słonecznego.
Ponieważ w nocy nie ma światła słonecznego, baterie są używane do przechowywania energii słonecznej w ciągu dnia do późniejszego wykorzystania. Akumulatory są najbardziej potrzebne w instalacjach solarnych off-grid, które nie są zasilane energią elektryczną z sieci energetycznej.
Podczas podłączania akumulatora do falownika solarnego wystarczy podłączyć ujemny biegun akumulatora do ujemnego bieguna falownika, a dodatni biegun akumulatora do dodatniego bieguna falownika.
Jak pokazaliśmy w tym wyjaśnieniu, akumulator zwykle nie jest podłączony bezpośrednio do panelu słonecznego, ale do falownika, który jest już podłączony do panelu słonecznego.
Dzieje się tak, ponieważ falownik zapewnia, że prąd stały wytwarzany przez panele słoneczne jest przekształcany w bardziej użyteczną formę (prąd przemienny) przed zmagazynowaniem go w akumulatorze.
Inwertery solarne pomagają również zapewnić, że wahania napięcia w różnych modułach solarnych połączonych razem są stabilizowane i uśredniane przed ich przesłaniem.
Po prawidłowym podłączeniu falownika solarnego i akumulatora konieczne jest podłączenie falownika do sieci energetycznej.
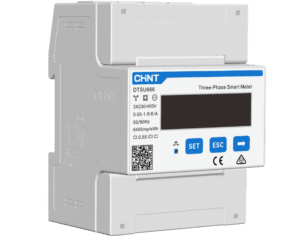
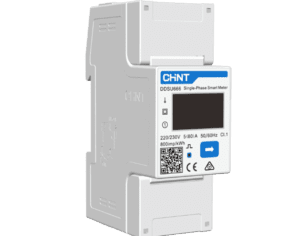
Przede wszystkim falownik musi być podłączony do głównej rozdzielnicy lub panelu budynku. Panel ten można podłączyć do sieci za pomocą przewodu wyjściowego. To połączenie wymaga podwójnego licznika, ponieważ pomaga zwrócić nadmiar energii z powrotem do sieci, oszczędzając w ten sposób koszty.
Uruchomienie falownika oznacza ostatni etap całego procesu instalacji paneli słonecznych i systemu energetycznego. Jak już wspomnieliśmy, falowniki solarne pomagają konwertować prąd stały wytwarzany przez panele słoneczne na prąd zmienny potrzebny urządzeniom. Inwertery solarne są również często wyposażone w cyfrowy wyświetlacz pokazujący stopień wykorzystania i konwersji energii słonecznej.

Należy upewnić się, że komponenty systemu solarnego zostały zainstalowane we właściwy sposób. Można to osiągnąć, korzystając z informacji zawartych w tym artykule, jednocześnie szukając dodatkowej profesjonalnej pomocy (ewentualnie poprzez konsultacje) w celu uzyskania dodatkowych, bardziej technicznych i specyficznych dla danego przypadku szczegółów.
Po zainstalowaniu systemu, konserwacja obejmuje utrzymanie komponentów w czystości i ochronę przed wilgocią, ciepłem, blokadami i innymi trudnymi warunkami.
Innym ważnym środkiem jest upewnienie się, że system nie jest przeciążony zbyt dużą liczbą lub ciężkimi urządzeniami podczas pracy. Oznacza to, że należy zawsze pamiętać o maksymalnym zużyciu energii przez system.
W przypadku sporadycznych usterek i awarii konieczne może być skorzystanie z profesjonalnej pomocy. Jeśli jednak system zostanie zainstalowany i będzie obsługiwany z należytą starannością, takie awarie zostaną znacznie ograniczone.
Możesz zaoszczędzić ogromną ilość pieniędzy. Nie musisz też tracić czasu na szukanie ekspertów i wyjaśnianie swoich potrzeb.
Możesz nawet zaprojektować własny falownik solarny, aby zaspokoić swoje małe potrzeby.
Jeśli posiadasz pewne umiejętności, możesz zaoszczędzić sporo czasu i pieniędzy, naprawiając swój falownik solarny samodzielnie.
Możesz wybierać spośród wzorów paneli i innych narzędzi. Ponadto samodzielne wykonanie instalacji to świetny sposób na naukę. Znajdziesz tu wiele informacji na temat systemów energii słonecznej. Możesz także zdobyć więcej wiedzy na temat sprzętu solarnego. Może to być przydatne w przypadku przyszłych napraw lub nowych produktów.
Instalacja paneli słonecznych na ogromnej infrastrukturze wymaga wyższego poziomu wiedzy specjalistycznej. Naprawa może zająć dużo czasu. Mogą wystąpić pewne problemy z instalacją hybrydowych falowników solarnych, które będą wymagały bieżącej konserwacji w przyszłości.
Samodzielna naprawa paneli słonecznych jest nieefektywna. Wynika to z faktu, że podnoszenie paneli na górę i montowanie ich w domowym systemie zasilania wymaga pracy zespołowej.
Ponadto, aby uniknąć niebezpieczeństwa, do prawidłowej naprawy trójfazowych falowników hybrydowych wymagane są specjalne narzędzia. Narzędzia te można kupić, ale trzeba też nauczyć się, jak efektywnie korzystać z trójfazowych falowników hybrydowych. Do każdego przyrządu dołączony jest zestaw wytycznych dotyczących bezpieczeństwa.
Przed instalacją falownika solarnego należy również podjąć pewne środki ostrożności. Jeśli nie masz wcześniejszego doświadczenia, musisz zapoznać się z instrukcją.
Krótko mówiąc, faktem jest, że instalacja falownika solarnego może być satysfakcjonującym projektem DIY, jeśli poświęcisz czas na zaplanowanie i przygotowanie się do niego. Ważne jest, aby wybrać odpowiedni falownik solarny dla swojego systemu, a także upewnić się, że wszystkie komponenty są kompatybilne i że procedury bezpieczeństwa są przestrzegane podczas całego procesu instalacji. Chociaż samodzielne wykonanie instalacji może zaoszczędzić pieniądze i zapewnić cenne doświadczenie edukacyjne, kluczowe jest, aby zdać sobie sprawę, kiedy potrzebna jest profesjonalna pomoc, zwłaszcza w przypadku okablowania elektrycznego i kwestii bezpieczeństwa. Postępując zgodnie z podanymi przez nas wskazówkami i krokami, możesz bez obaw zainstalować falownik solarny i cieszyć się korzyściami płynącymi z energii słonecznej dla swojego domu. Pamiętaj tylko, aby zachować bezpieczeństwo, nie spieszyć się i poprosić o pomoc, jeśli nie masz pewności!