


A solar inverter is a key component of a solar panel system. At the solar panel, DC power is generated from sunlight and an inverter is needed to convert the DC power into AC power usable in the home.
Also, the solar inverter is an integral component of the system monitoring. The solar inverter also interaction with the solar system’s battery bank (including energy storage).
In summary, the inverter is the control center of the entire solar system. Therefore, how to install solar inverters is an important thing required to focus on.
You need to make sure that your solar inverter installation goes smoothly if you are going to do a DIY solar installation.
The first step is that choosing the right solar inverter is crucial.
Note: As follows will focus strictly on residential and small commercial grid connection systems. If you work on a DIY off-grid system, you need to use a different inverter to build for off-grid purposes.
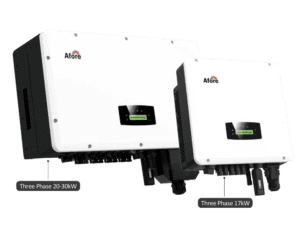
There are two basic inverters for solar systems, string inverters and microinverters.
A string inverter consists of a central inverter unit that is “stringed” with the solar panels, all connected back to the inverter.
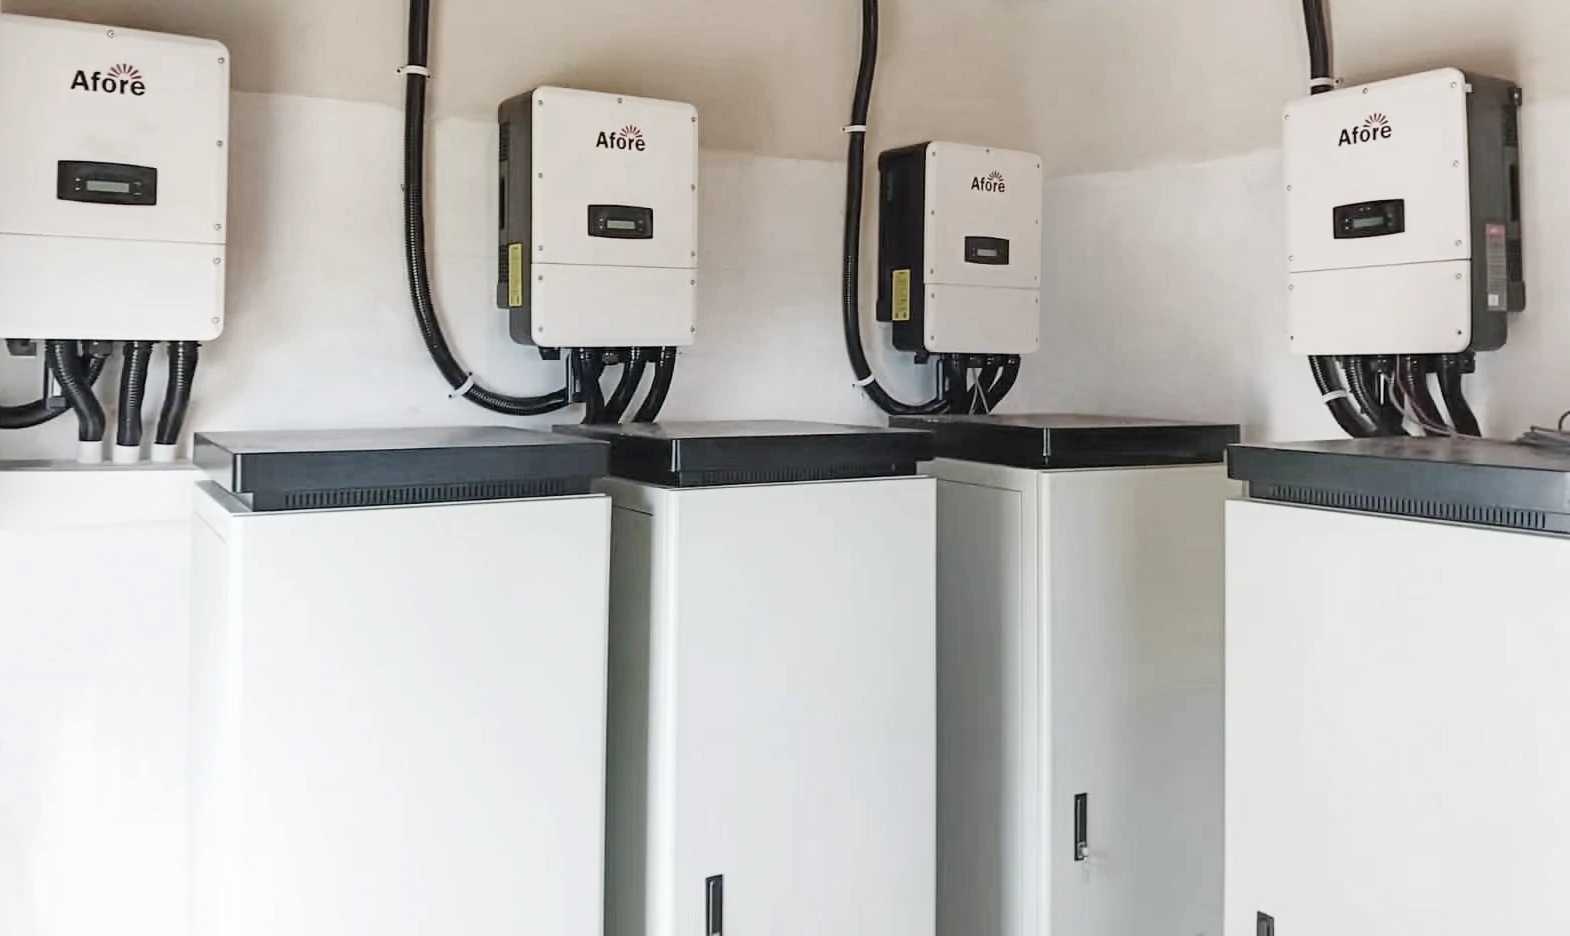
A typical string inverter can handle up to 30 PV panels, so most solar panel systems will have only one or two inverter units. A string of inverters is mounted on a wall close to the main service panel or on a ground mounted solar system.
As the name suggests, a microinverter is a small inverter device installed behind a single solar panel. Basically, it is an independent power generation unit. The future expansion and continuous power supply can be realized even if one of the units is damaged.
Microinverters are highly efficient and the technology is constantly advancing. Some microinverters are easy to install, especially for DIYers. Installation is made even simpler because you can use standard AC wiring almost anywhere in the system.
There are a number of battery backup options available for grid-tied systems. If you want to install energy storage in your solar panel system, you need to make sure that the inverter you choose is compatible with the battery system you want.
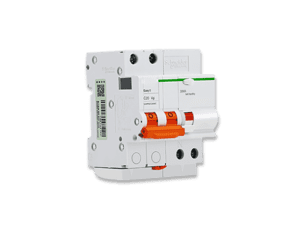
With the adoption of NEC 2014, all photovoltaic systems were required to have a quick shutdown feature. In NEC 2017, the rules are more specific; every solar panel needs to shut down.
Microinverters are a great option because every microinverter has a built-in requirement for quick shutdown. You will need to purchase a quick shut-off device for each PV panel, which must be compatible with the solar inverter.
The best way to ensure that your basic needs are met is to purchase a solar panel kit. Choose the team of DIY experts who will make sure you have everything you need to meet the quick shutoff specifications.
We know you’re rolling your eyes, but we are serious! It is different to install a solar inverter than it is to use a standard power drill. There is a much more complex piece of equipment, a solar inverter, and installation instructions can vary greatly from one make or model to the next.
One of the most critical factors in installing a string drive is the location you choose. Determining the right location will take some planning, but this will make the entire installation process more manageable.
First check which side of the inverter has a DC power connection and which side has an AC power connection. Then, plan the corresponding inverter locations. Without careful consideration of this, it can lead to a lot of tricky plumbing work.
Also, make sure not to install the solar inverter in direct sunlight. This may shorten its life and may cause some system shutdowns if the inverter overheats.
Lastly, make sure to check the clearances in the installation manual so the inverter gets the airflow it needs to work its best.
Microinverters weigh only a few pounds each. But if you’re installing a string inverter system, be prepared to lift some weight. These inverters don’t look heavy, but can weigh anywhere from 25 to 65 pounds (or even more). Ask a friend for help if needed and don’t try to hang it too high.
Remember the weight when you’re putting up the hanger. Be sure to secure the brackets to the pegs on the wall, not just the plaster or siding.
When installing an inverter, it’s important to know the basics of electrical safety wiring for your solar system. Always make sure the circuits are off before making any connections inside the inverter.
It is possible for PV panels to generate DC power even in very low light conditions, so it is best to use dead wires to make DC connections within the inverter before connecting those wires to the solar panels. Also, make sure that the AC circuit breaker or AC is disconnected so that you don’t get any AC power from the main distribution panel while you are working.
It is possible to seek professional help in the DIY installation process. If you do not have experience with electrical wiring, you should seek the guidance of an electrician. The safest option is to have an electrician wire or make the final connections.
When shopping for DIY solar panel kits and materials that you want, you should always buy from a reputable company that offers technical support.This company is best able to provide free nabcep certification support to customers purchasing solar systems by phone or email. Your problem is likely unique to your solar installation, so having online support is valuable.
The base is the basic infrastructure you have to install your solar panels, which provide sturdy and firm support.
There are three main types of solar brackets, namely column, flat top and ground brackets. It is necessary to install it slightly inclined so that the panel can face the direction of maximum sun intensity. Usually, this inclination is between 18 and 36 degrees.
Some of the factors to consider when installing solar panels include: the size, suitability and slope of the roof; the location of the building or facility; and the angle of incoming sunlight. Others factors include the presence or absence of obstructions, etc.
For ground supports, the installation process begins with excavating the ground, pouring concrete, and setting the piers. The depth and width of the anchor hole to be excavated depends on the size of the overall structure. You must also decide on the amount of concrete and piping to use to achieve good structural integrity for the solar panel mounts.
Here are some tips to follow when setting up a ground mount for best results:
1. When handling concrete, use necessary protective equipment such as gloves. This will protect the skin from possible burns from contact with wet concrete.
A respirator will also help protect the lungs from harmful gases and particulate matter that can be produced by the cement.
2. Make sure the position of the ground support is level. Uneven ground can ultimately affect the stability and effectiveness of a solar system.
3. Clearly define excavation points. This will depend on the size of your solar panel structure and the spacing of the docks.
4. Before building your mount, conduct an engineering survey to determine the nature of the subsurface soil.
The engineering survey will also assess the bearing capacity of the subsurface soil layers and help determine if there are any subsurface artifacts, such as pipes or septic systems, that you must avoid.
As mentioned earlier, it is also important to notify the local government before starting to install solar panels. This will help you get the required permissions for your project.
5. Before mixing concrete, make sure everything needed for installation construction (pipes, piers) is available.
6. Once you have poured the concrete and set up the piers (which will be suspended in the concrete), make sure you have enough time for the concrete to fully cure before doing the rest of the setup.
It is often important to use temporary support structures such as wood to hold the piers in place while the concrete cures (hardens).
7. After setting up the brackets for the basic foundation of the solar panel, the rack rails must be incorporated into the bracket frame. Shelf rails are used as bottom support, on which the solar panels will be placed directly.
Shelf rails must be spaced according to the solar panel design (dimensions, mounting slots). This will allow them to fit perfectly and provide unwavering support.
Once the installation structure is set up, the next step is to install the solar panels. To do this, simply place the solar module on the mounting frame and tighten the bolts and nuts to securely hold the two components.
You have to carefully consider the orientation of the solar panel (tilt orientation). There is often a dependency on your geographic location for this orientation. For the northern hemisphere, the solar panels should face south. On the Southern Hemisphere, the solar panels should face north. In the equatorial region, the solar panel should be horizontal. These directions represent the directions with the highest intensity of solar radiation (sunlight).
One way to achieve high efficiency is to use a removable mounting frame. This mount is designed so that the inclination of the solar panels can be fine-tuned at different times of the year (i.e. summer, winter) to collect the maximum amount of sunlight.
Electrical connections or wiring to solar systems must be made in a manner that prevents rusting or sparking. This can be achieved by carefully selecting the wires to be used and determining the type of connection that is best for the system.
The two connections that can be used are series and parallel.
The series connection is usually used when a high voltage output is required. Typically, the series connection leaves the current output unaffected, and the voltage output is increased.
In a series connection, the positive terminal of the solar panel is connected to the negative terminal.
The parallel connection is used when a high current output is required. Typically, a parallel connection of solar panels produces a high current while the voltage is unaffected.
In a parallel connection, the positive pole of one solar panel is connected to the positive pole of another solar panel. The same is true for the negative pole.
There are many factors to consider when planning and executing the cabling phase of a solar system installation project. They include;
1. The main activities related to electrical wiring are planning wiring operation, system grounding and installing feedback circuit breakers in case they need to be connected to the utility grid.
2. Before proceeding with wiring, it is important to plan the cabling operation in an efficient manner. This helps ensure that errors are minimized.
3. The wire can be fixed with a wire clip. This will limit their movement and ensure that the connection is secure.
Of course, before you can connect your solar panels to the inverter, you have to start by installing the solar inverter.
The installation of solar inverters depends on the type and configuration of the entire solar system. The inverter can be installed outdoors, indoors, on a wall, or as a substructure part for floor installation.
The same method is used to connect the solar panels to the inverter regardless of the solar panel array connection (series or parallel). Generally, this method involves the use of “strings”, which consist of a negative and a positive (in wire, string refers to a delicate electrical terminal connection).
The negative terminal of the string (representing the solar panel) is connected to the negative terminal of the inverter, and the positive terminal of the string is connected to the positive terminal of the solar inverter.
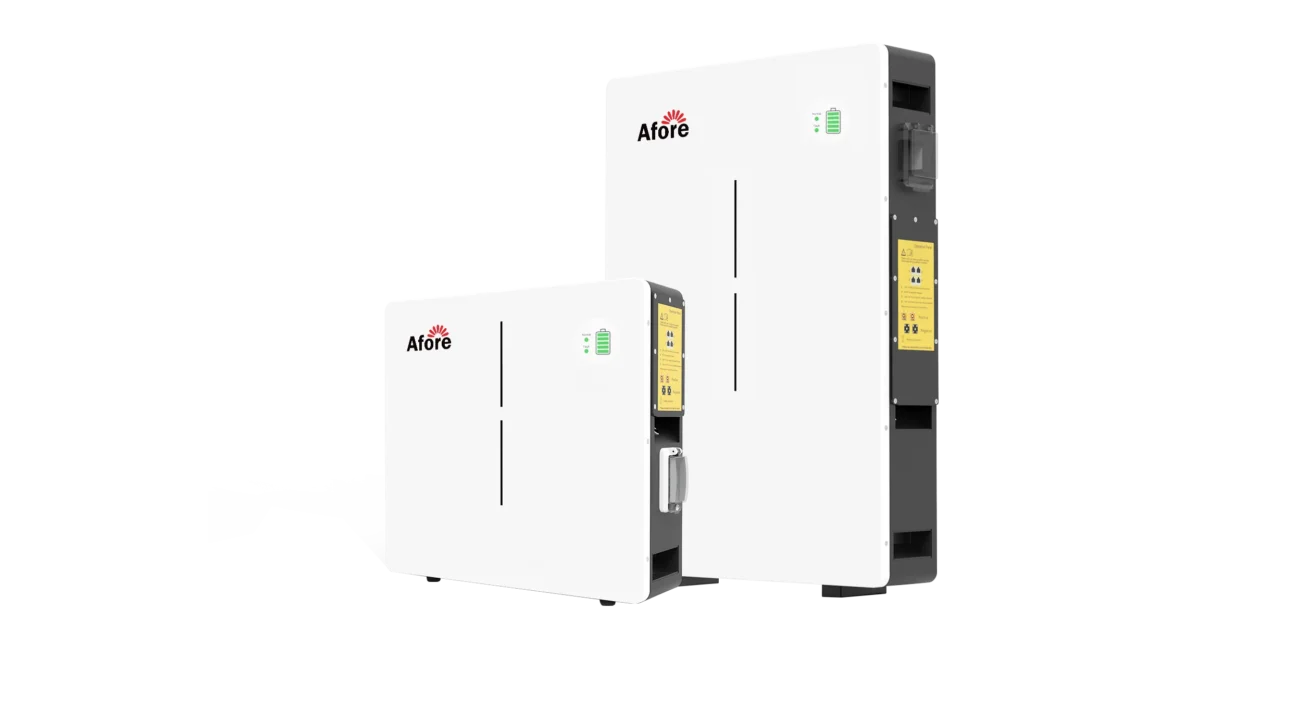
We must start by pointing out that batteries are not one of the fundamental components of a solar system. Instead, it functions as a supportive component, providing backup to ensure solar energy is available even when there is no sunlight.
Because there is no sunlight at night, batteries are used to store solar energy during the day for later use. Batteries are the most needed for off-grid solar installations, which are not backed by electricity from the utility grid.
When connecting the battery to the solar inverter, simply connect the negative of the battery to the negative of the inverter and the positive of the battery to the positive of the inverter.
As we have shown through this explanation, the battery is usually not connected directly to the solar panel, but to an inverter that is already connected to the solar panel.
This is because the inverter ensures that the direct current produced by the solar panels is converted into a more usable form (AC) before being stored in the battery.
Solar inverters also help to ensure that voltage fluctuations in different solar modules connected together are stabilized and averaged before being transmitted.
After the solar inverter and battery are properly connected, it is necessary to connect the inverter to the utility grid.
First of all, the inverter must be connected to the main power switchboard or panel of the building. This panel can be connected to the grid through an output wire. This connection requires a dual meter as it helps in returning excess power back to the grid, thus saving costs.
Starting the inverter means the final stage of the entire solar panel and energy system installation process. As we have already mentioned, solar inverters help to convert the DC produced by the solar panels into the AC needed by the appliances. Solar inverters are also often equipped with a digital display unit to show the utilization and conversion rate of solar energy.
You have to make sure that your solar system components are installed in the correct way. This can be achieved by using the information in this article while seeking additional professional help (possibly through consultation) for additional, more technical and case-specific details.
After the system is installed, maintenance includes keeping the components clean and protected from humidity, heat, blockages, and other harsh environments.
Another important measure is to ensure that the system is not overloaded with too many or heavy appliances during operation. This means that you must always keep in mind the maximum energy consumption of the system.
In the event of occasional malfunctions and malfunctions, it may be necessary to seek professional help. However, if the system is installed and operated with care, such failures will be greatly reduced.
You can save a huge amount of money. You also don’t have to waste time searching for experts and explaining your needs.
You can even design your own solar inverter in order to fulfill your small needs.
You can save a lot of time and money by fixing your solar inverter yourself if you have some skills.
You can choose from panel designs and other tools. In addition, doing it yourself is a great way to learn. You will find a lot of information about solar energy systems. You can also gain more expertise on solar equipment. This can be useful for future repairs or new product references.
Installing solar panels on huge infrastructure requires a higher level of expertise. It can take a long time to fix it. There may be some problems with the installation of solar hybrid inverters that require ongoing maintenance in the future.
Repairing solar panels alone is inefficient. This is because lifting the panels to the top and assembling them into your home’s power system requires teamwork.
In addition, to avoid danger, specific tools are required to properly repair three-phase hybrid inverters. You can buy these tools, but you also have to learn how to make effective use of three-phase hybrid inverters. Each instrument comes with a set of safety guidelines.
Before installing a solar inverter, certain safety precautions should also be taken. If you have no previous experience, you must read through the manual.
In short, it is a fact that installing a solar inverter can be a rewarding DIY project if you take the time to plan and prepare for it. It is important to choose the right solar inverter for your system as well as ensure that all components are compatible and that safety procedures are followed throughout the installation process. While doing it yourself can save money and provide a valuable learning experience, it is key to realize when you need professional help, especially when dealing with electrical wiring and safety issues. Following the tips and steps that we provide, you can install a solar inverter with confidence and enjoy the benefits of solar power for your home. Just remember to be safe, take your time, and ask for help if you feel unsure!